
Tools and Equipment
Touring the Shipyard
And now for the final product…let’s take a step back from the actual kits and historic subjects for a moment and tour where the work actually happens!
The Mother of Invention
We modelers are always striving for perfection. Be it a better painting job or cleaner assembly, most of us aren’t content to sit on our laurels. For me at least, this also applies to the quest for the perfect workbench setup. Over the years, my bench has changed and grown as my skills have evolved and my equipage increased. Sometimes, however, there’s a more mundane and yet equally important reason to change: safety.
Let me provide some context: yesterday afternoon, I picked up a couple of old desk hutches from my mother’s basement for use on my workbench. I brought them home and was immediately pleased with the storage and accessibility potential they provided.
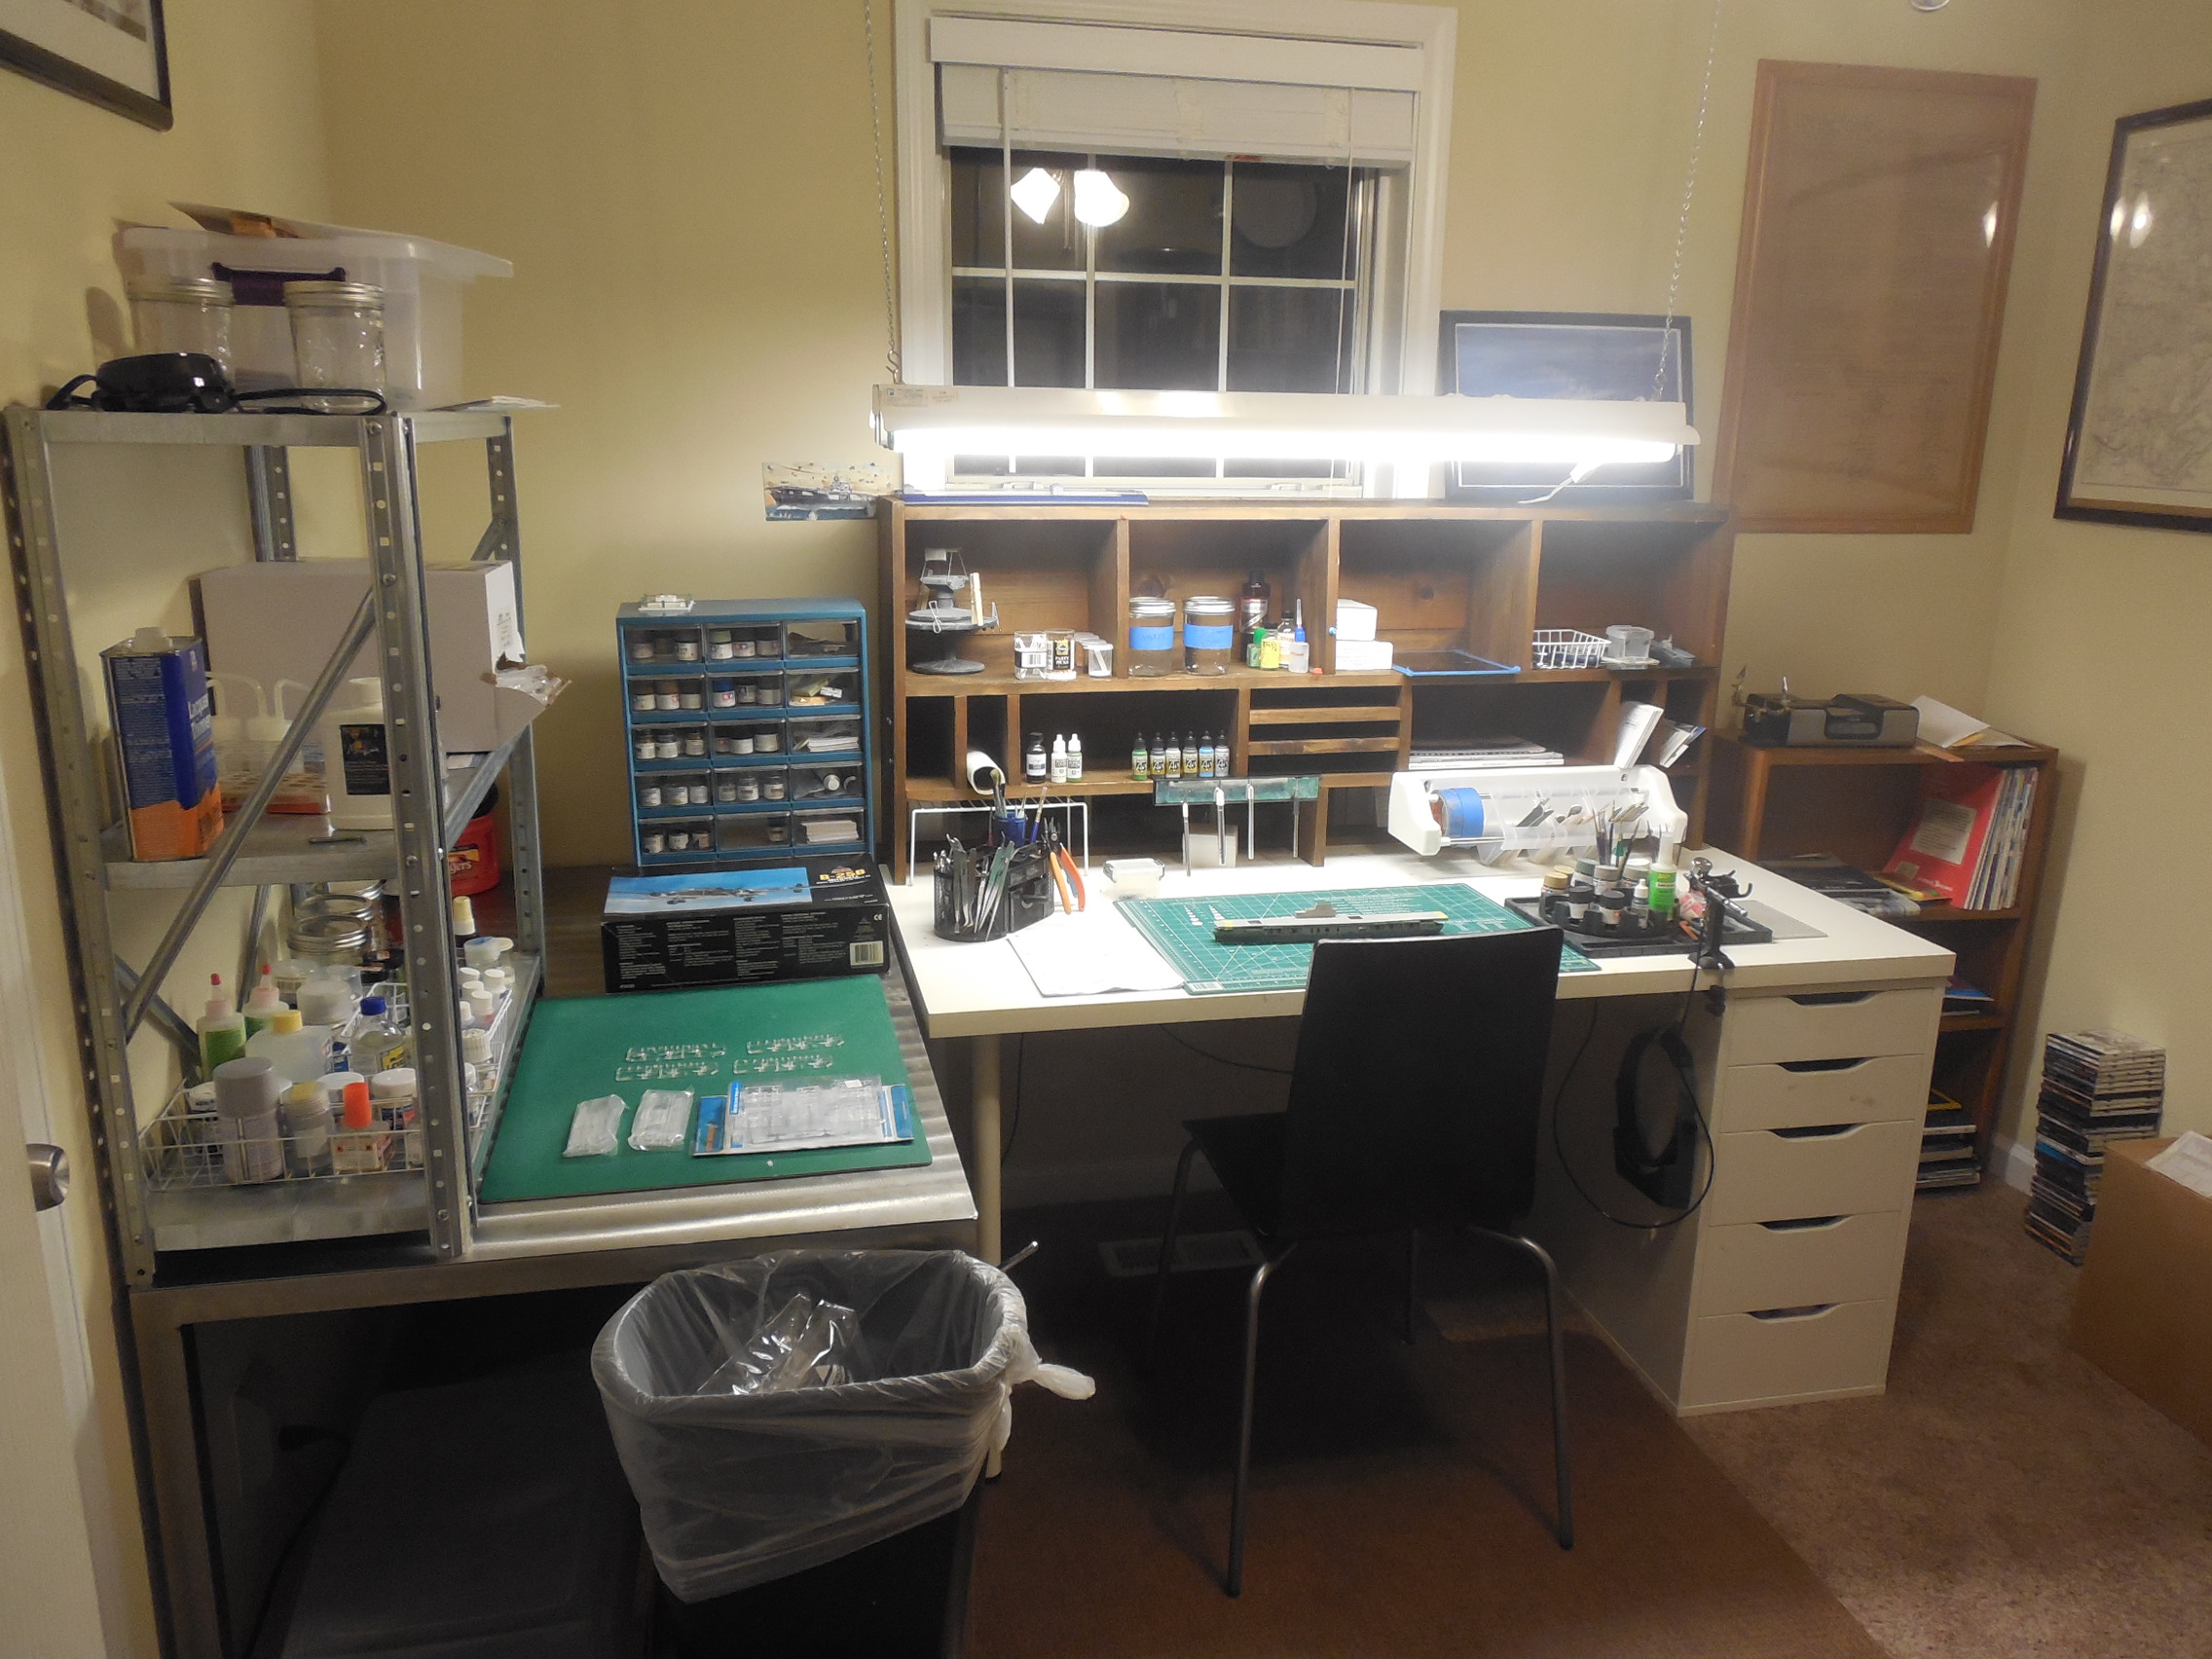
One evening of work at this new and improved setup quickly revealed a potentially fatal flaw in the equation: my new acquisition almost completely blocked the room’s only exterior window. Even though I was spraying ostensibly harmless Tamiya acrylics, the fumes were soon more than strong enough to give me a headache. I know many of us have at one point or another said we’d kill for X kit or Y technique, but I doubt any of us mean it literally, especially when it comes to ourselves!
And so this morning, a full-scale reorganization of the entire workroom was in order. With the addition of a new (to me) desk – again from my mother’s basement – and a steady stream of caffeine, I’ve managed to create my most efficient workbench setup to date AND free up the window, letting in fresh air and more light than ever; I don’t see this one changing anytime soon.

I now have a dedicated build table AND a dedicated paint table. No more trading blotting paper for a self-healing mat; no more competition for space between my airbrush stand and cutting tray.

My old primary table is now the painting station. The “new” hutch has let me spread out and categorize my paint inventory, while the space beneath the hutch is perfect for storing paint stands, weathering pastels, and cleaning supplies.

This table (which was apparently manufactured in the good old days of “lets use as much heavy steel in our furniture as possible”) is larger than my old primary table by about 15%, and with the addition of the hutch I almost have more working space than I know what to do with. Two concurrent builds can now occur on one table simultaneously, with the upper storage space keeping my glues, photo etch, and reference material at arm’s reach without taking up valuable space for plastic.
I know we all do things differently with our spaces, but for me, this is how it’s done.
The Nature of Things
The sun revolved around the Earth…until it didn’t.
Disease were caused by humors and vapours…until they weren’t.
Tamiya Extra Thin Cement was the ultimate in bonding…until it wasn’t.

+

=

Product Review: Gator’s Grip Acrylic Hobby Glue
One thing I’ve noticed online is some confusion and skepticism concerning Gator’s Grip Acrylic Glue, and I wanted to do my part to clear things up. This white, PVA-type is useful beyond words for working with photo-etched materials as well as standard polystyrene. It provides a good bit of workable set time before it cures, and once its dry it’s a more solid bond than most CA glues. Plus its water-soluble, so clean-up is a breeze!
I worked up a little product review and demonstration on my YouTube channel, so here’s an embedded link of that video for here as well:
I hope you enjoy – and learn a thing or two! For now then, friends, take care, and happy modeling.
Photo Album: Bronco Models 1:35 FI 103 RE-4


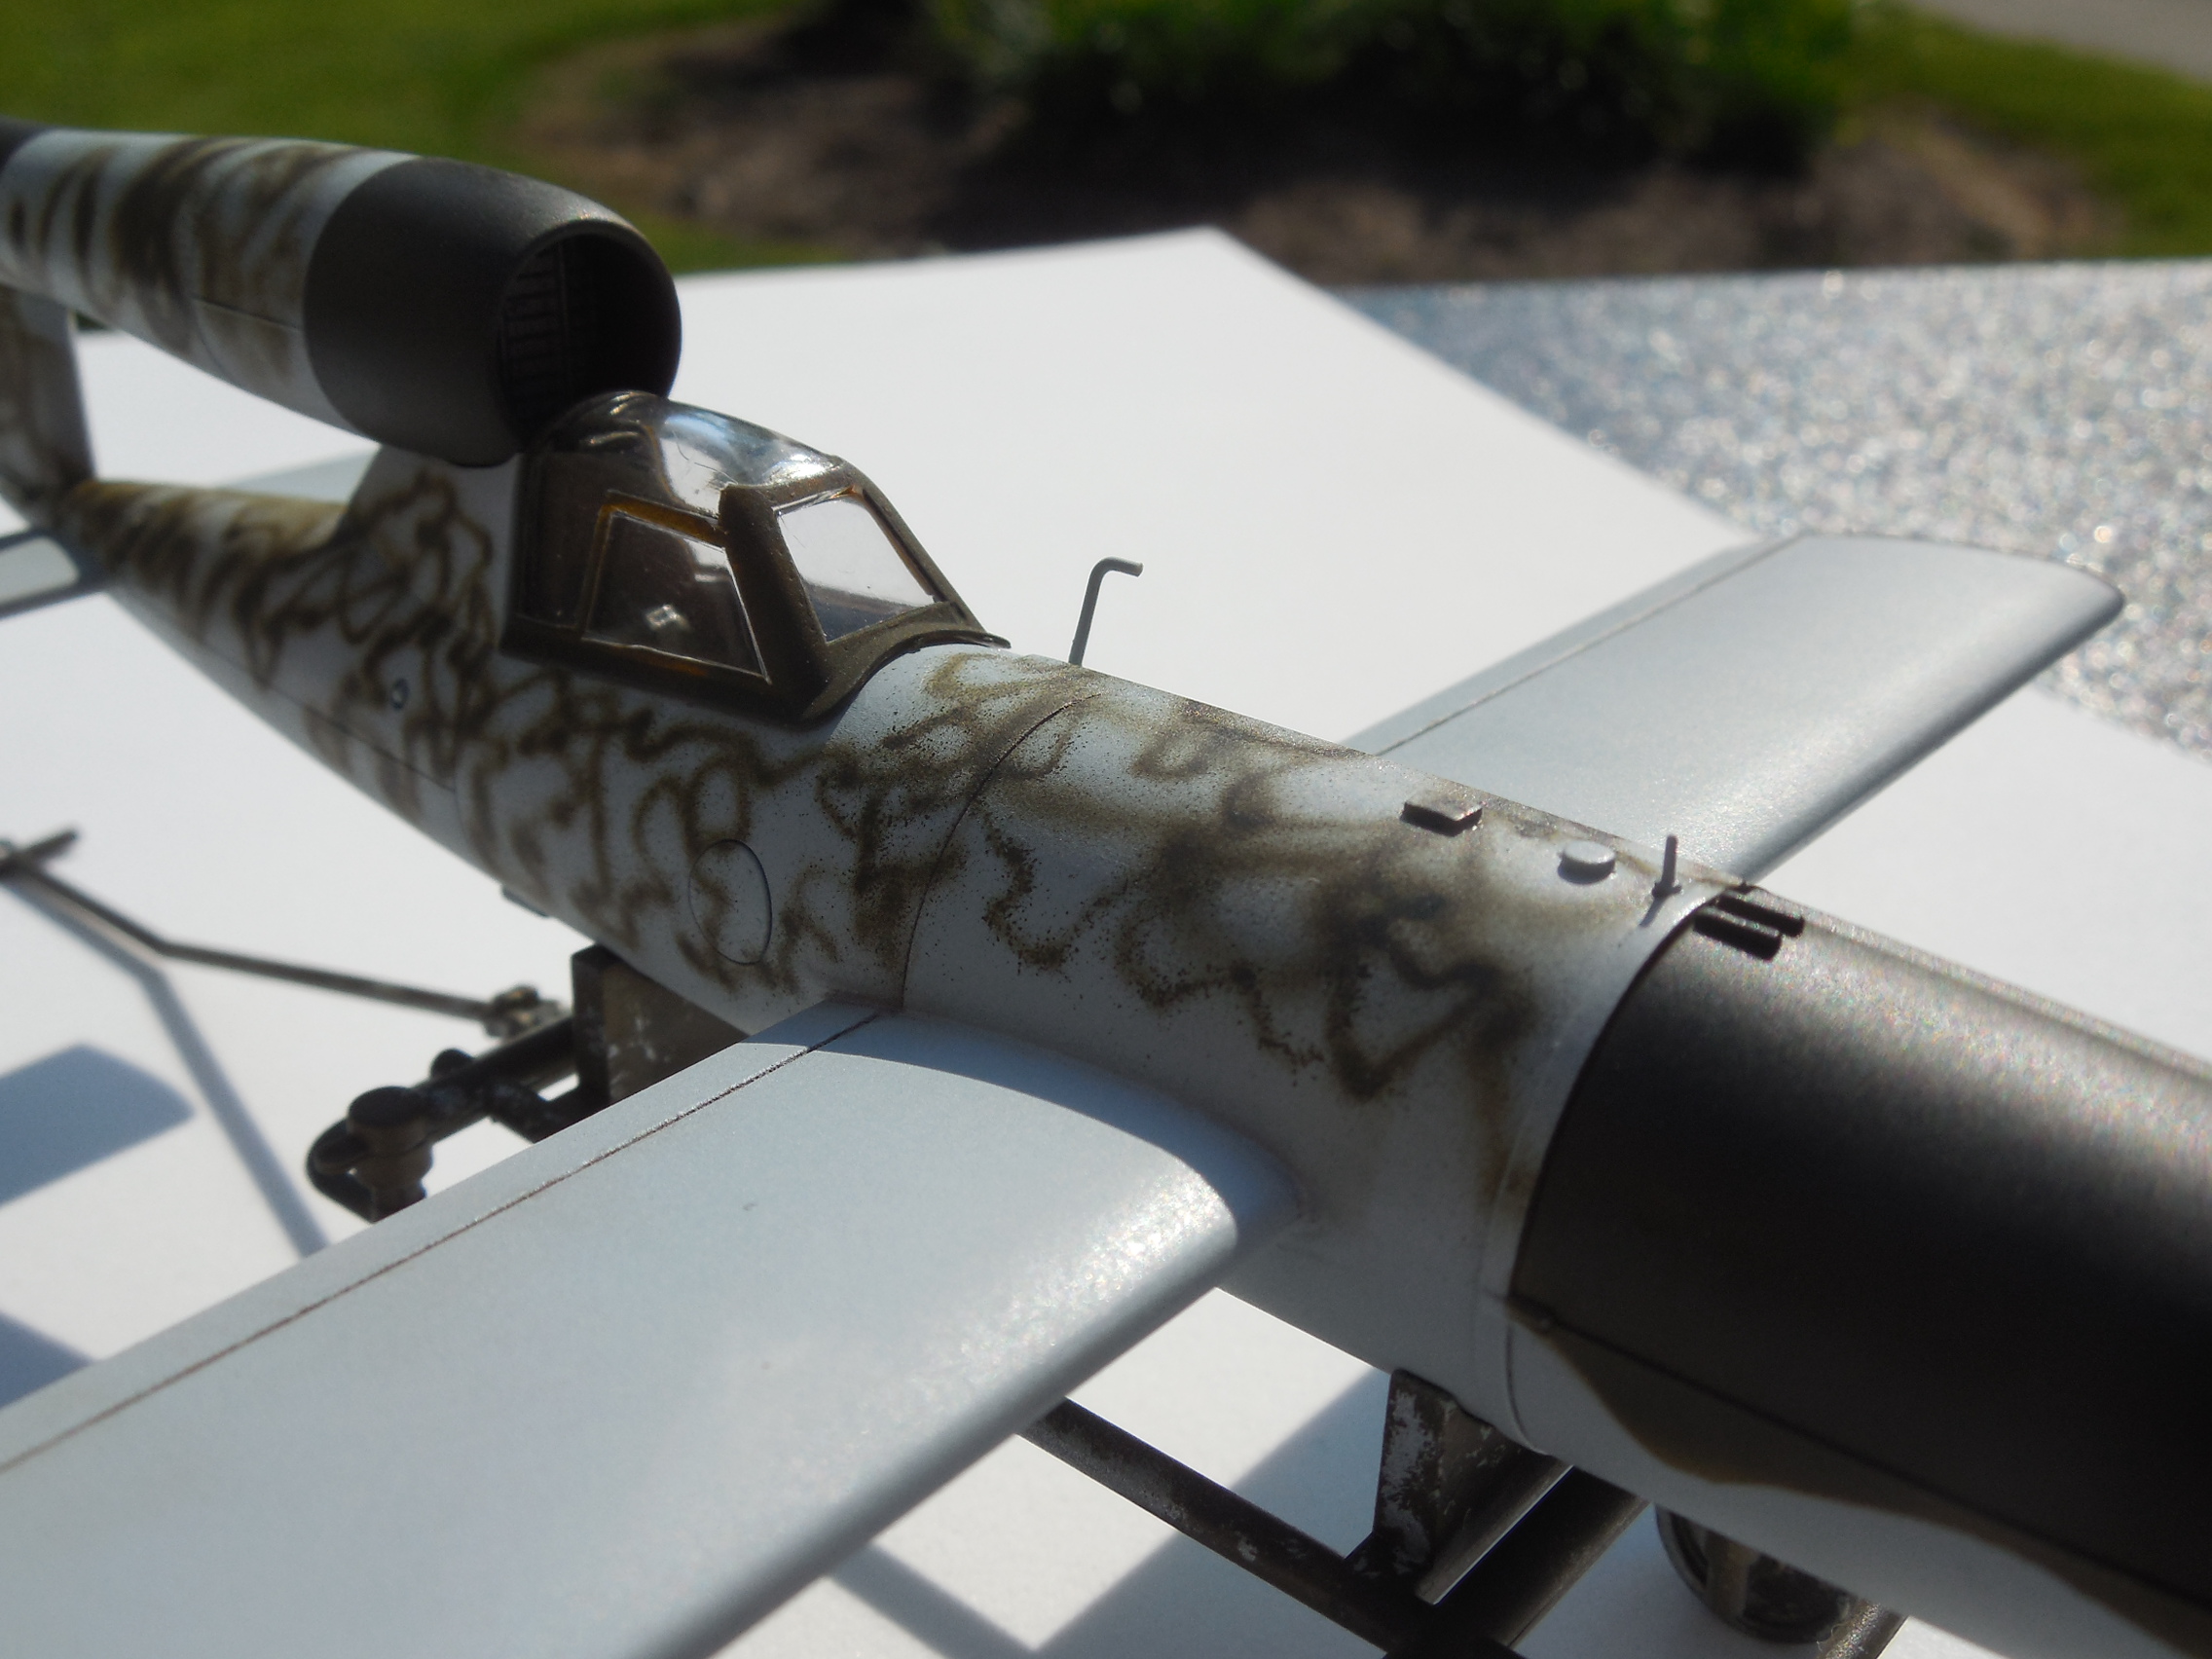


The reference shot used for the camouflage pattern, taken at Farnsborough in 1945.
These images are of the 1:35 scale V103 RE-4 Reichenberg produced by Bronco Models. The kit was built out of the box over a span of about 15 hours spread out over 10 days. A full, four-part build log for this kit can be found here, here, here, and here.
Materials used included:
Tamiya acrylic paint
Vallejo Model Air acrylic paint
Testor’s Dullcote
Pledge “Future”
Artist Oil Paints
Generic Hairspray
100% Acetone Nail Polish Remover
MicroScale Industries Micro-Set and Micro-Sol
Tamiya Extra-Thin Cement
Gator’s Grip Glue
15-second CA “Superglue”
Squadron White Putty
Iwata HPC-Plus Gravity-Fed Airbrush
X-Acto brand blades
X-Acto “third hand” clamp with magnifier
Tamiya Masking Tape
None of the manufacturers named have provided me with any sort of incentive to list them. I simply enjoy using their products.
Thank you for coming along with me on this build. I hope that you’ve enjoyed it. I’m about to get started on a new kit, this time a Trumpeter 1:700 USS Lexington CV-2 (You can find an unboxing video of the kit here), so new posts should feature a build log update of that project from time to time. I’ll also be posting more tips and tricks, as well as unboxing and product reviews from various models in my que. Of course, don’t forget that I’ll be throwing the random history lesson in here as well.
Take care, and happy modeling.
Hairspray Weathering in the Third Reich
One of the more daunting prospects of plastic scale modeling can be the weathering process. Once you’ve finally managed to make everything look perfect on your kit, do you really feel giddy about then making it look like it’s actually been used? While it depends on your subject and how you want to display your model, the answer for many is “yes!” Weathering can add an extra oomf to your kit, enhancing the fourth wall and making the viewer question weather this tiny collection of plastic pieces is actually the operating tool of an army of miniature people.
There are dozens of different weathering techniques – thinned oil paints, chalk pastels, specially-made powders and pigments among them – but tonight I’ll be writing about the hairspray method.
Yes, hairspray,
I was skeptical as well, trust me, but my current project demanded a level of weathering that I thought this method would bring about if I did it successfully. I’d never tried this one before, and in fact only recently heard about it (see page 32 of April 2013’s issue of FineScale Modeler for the article that inspired me) so this was mostly uncharted territory. But hey, isn’t half the fun of this hobby learning new techniques?
I wanted to try this method on a transport dolly that’s included with Bronco Models FI 103 Re-4; it’s a nice little touch that adds a relevant display stand to the kit. As the piloted V1 I’m building is based on an unflown prototype recovered by the British at the end of the Second World War, I knew that I wasn’t going to weather the aircraft itself. However, as this was 1945 and the Luftwaffe had certainly seen better days by that point, it made sense to make the transporter that this primitive guided missile is resting on look like it, too, had been through the wringer. I knew that I wanted the dolly to have an outer coat of olive drab, and an underlying coat of Steel where the paint had chipped away from use.
I started with a coat of Vallejo Model Air’s Steel. This went over the top and bottom surface of every part of the dolly, as seen below:

This is actually every part of the dolly except for the actual frame of the piece. By this stage, I had already tested this method on the frame itself, therefore I knew I could continue with the remaining pieces.
Once this had dried completely, I went to my townhouse’s master bathroom and found a can of hairspray. I don’t think it matter which, exactly, as this brand differed from that used in the FineScale Modeler article. I coated the top and bottom surfaces of these pieces thoroughly, though not so much as to create pooling. Do as I did and treat this like any other airbrushing job.
Once this had dried completely (actually I waited until the next day, though I could have only held off for about ten minutes or so) I then added a heavily thinned (read: 50/50) Tamiya XF-62 Olive Drab. Sorry that I didn’t get a picture of this, but hey, it’s olive drab – you’ve seen it already.
Here’s where things get tricky. Apparently the hairspray acts as both a sealant for the undercoat and a release agent for the over coat. In theory, by placing the layer of hairspray between the two, it is now possible to treat the two coats of acrylic as you would treat two different mediums (eg, acrylic and enamel). So, after letting the Tamiya dry for, again, at least ten minutes, I took a wide, soft brush that had been dipped in water and gently coated the piece in question. The goal is to keep the paint moist and workable without making it run off the piece. Once the piece was well and truly soaked, I took an old brush of mine on which I had cut the bristles short, so short that it serves no purpose other than stippling work. Pushing against the olive drab coat very carefully, the outer coating begin to flake off, exposing the shiny Vallejo steel underneath. Success!
Once I started to see results, it took patience to not assault the outer cover with gusto, but I think I did alright. I tried to wear the paint away most where you would find it worn on a prototype cart of this nature. Once I’d completed this on all the pieces, I left them out to dry, again.

I swear by the Tamiya Spray-Work Painting Stand, and you should too.
After a day (You can never be too careful with paint this thin) I added a layer of Testors Dullcote. Several hours later, it was finally time to assemble the pieces. I won’t bore you with details here, as assembly was very straightforward. Know, though, that the cart is rather cleverly designed to feature moving wheels and handles, adding yet another level of realism to the finished product.
Speaking of the finished piece, here it is!


This will, I think, make an excellent addition to the display I have in mind for the finished model, and it also served as an ideal test bed for this weathering technique – a technique that, I hope, you will try on your own kit in the future.
Cheers, friends, and happy building.
