With Hood herself wrapped up, it was time to begin work on the component that would make or break the vignette I had planned: the ocean base. Over time, I’ve moved from building full-hull kits to waterline kits that came equipped with their own sea display base. Hood was to be the first time I tried building an ocean from scratch.

Liquitex Gloss Gel Medium is apparently designed for artists looking to give their painted oil works strength, stability, and texture; it’s a slow-curing gooey white paste (think Vaseline consistency) that dries crystal clear. I liked where this was going. YouTube videos confirmed that this was probably going to work for me, and so I sprung the $15 for a mid-sized jar of the stuff.
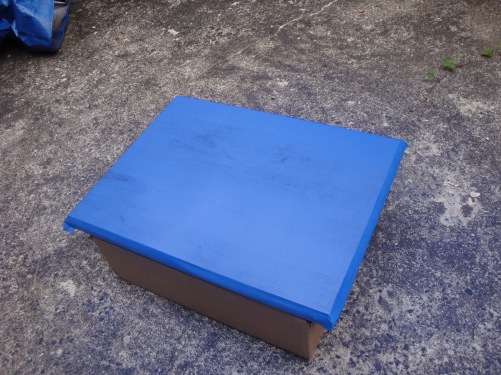
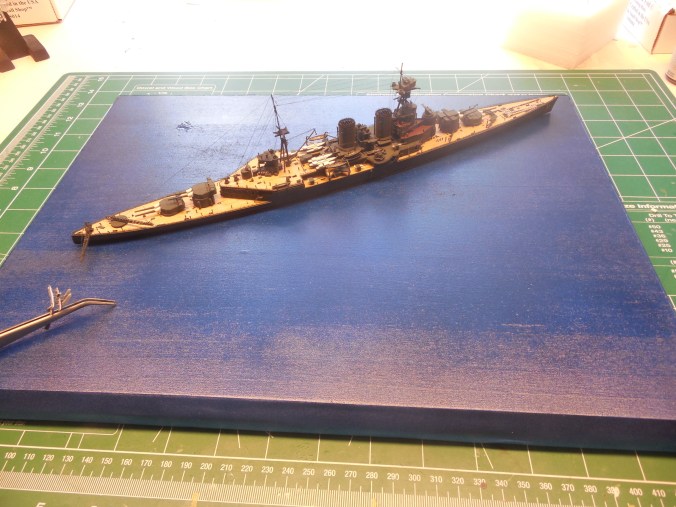
Since the Liquitex dries clear, and a big reason I didn’t want to go with the other options was the unrealistic look of painted-on water, I was going to need a base coat that would shine through the Liquitex. I’d already settled on an 11×14″ Basswood base for this display, so I stained it with a Cherry Oak stain, masked the edges, and laid down a black primer coat and deep blue gloss topcoat from spray paint rattle cans found at Wal-Mart. The result was a solid blue surface that projected depth while allowing for a reflective shine:

At this point, the base had to wait for a number of months for progress on the Hood herself to catch up. Eventually this point was reached, and the first location tests began. Immediately, I found what I wanted.

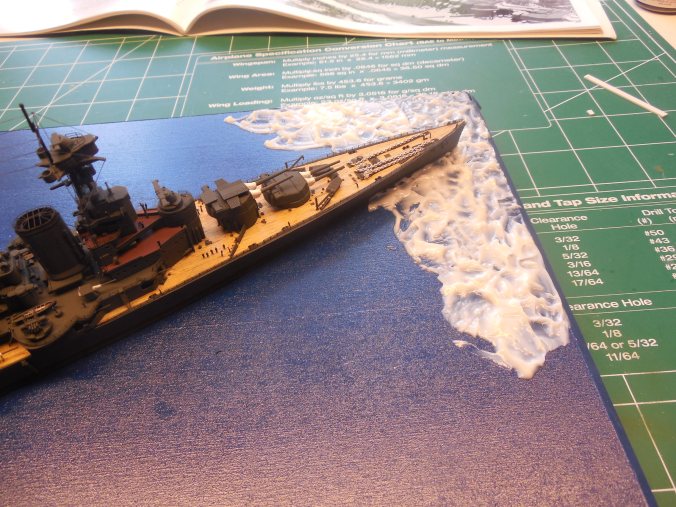
At last, it was time to open the Liquitex and give this a go. A few test applications on scrap styrene showed an easily workable time of about an hour after application, and a total cure time of about 48 hours. This gave me the baselines I needed to start work on the base. With Hood secured to the base with a liberal application of CA (talk about nerve-wracking commitment!), I resolved to start near the bow and work my way sternward – this would let me add waves and wakes on the fly without worrying about the curing status of Liquitex that I’d applied more than an hour prior.
Handy popsicle stick in hand as a spatula and shaping tool, work began:

Well, that was easy. The entire process took about 90 minutes, though it could have taken less if this were not a half-experiment. You can see in the final shot above that the Liquitex near the bow is already clearing up; the more vigorous water in the ship’s wake was laid on necessarily thicker, so many of those whitecaps would not disappear for two days. A very few of them would not clear at all, which leads me to believe that there may be some air pockets inside. Fortunately, whitecaps in water don’t look unnatural, so these won’t cause a problem.
After making myself wait for what may have been the longest two days of my life, I finally sat down to evaluate the result of this experiment:
 Now that ain’t bad.
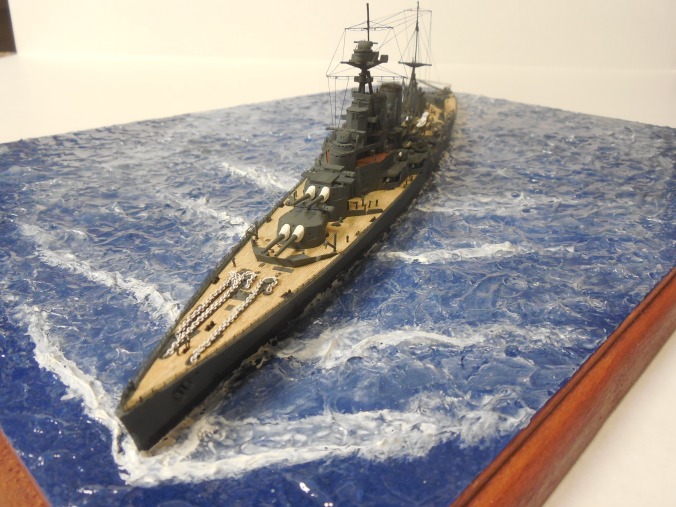
At this point, even though some curing/clearing was still required, I decided to start with some of the obvious whitecaps I had shaped into the Liquitex upon application. With Vallejo Off White and a series of brushes, I started picking out individual whitecaps and wakeforms, giving the ship a series of the distinctive angled waveforms that mark the passage of a large ship. I also added these around the crashed Fairey floatplane, making a circle of ripples a few scale feet from the crash scene.

At this point, I honestly thought I was done. I posted some images to my Facebook page, copied some snapshots to my thumbdrive to show my (also a modeler) boss, and found space in my display cabinet befitting a ship of Hood‘s status. The next day, however, something nagged at me. The more I looked at the above shot, the more I thought I could improve on it. The waves were too singular, the angles on some of them too inconsistent. No, I wasn’t done yet after all. The next night I brought the ship back to the workbench and, using very thinned paint (the same Vallejo Off White) I started filling in the wave troughs. I also found that using 91% alcohol on the already-dried white paint to spread the color to the surrounding areas added a nice level of realism in which the choppy waters gradually settled as they moved further away from the ship. This was also a good chance to get random with paint application, for as long as I kept my work to areas that had realistically been disturbed by the ship’s passage, it would be pretty hard to get this one wrong. The result of this nitpicking?


